
![]()
Salut!
Aujourd’hui, je vous présente un autre projet sur les Backrooms:
Hi there!
Today, I present you another project about Backrooms:
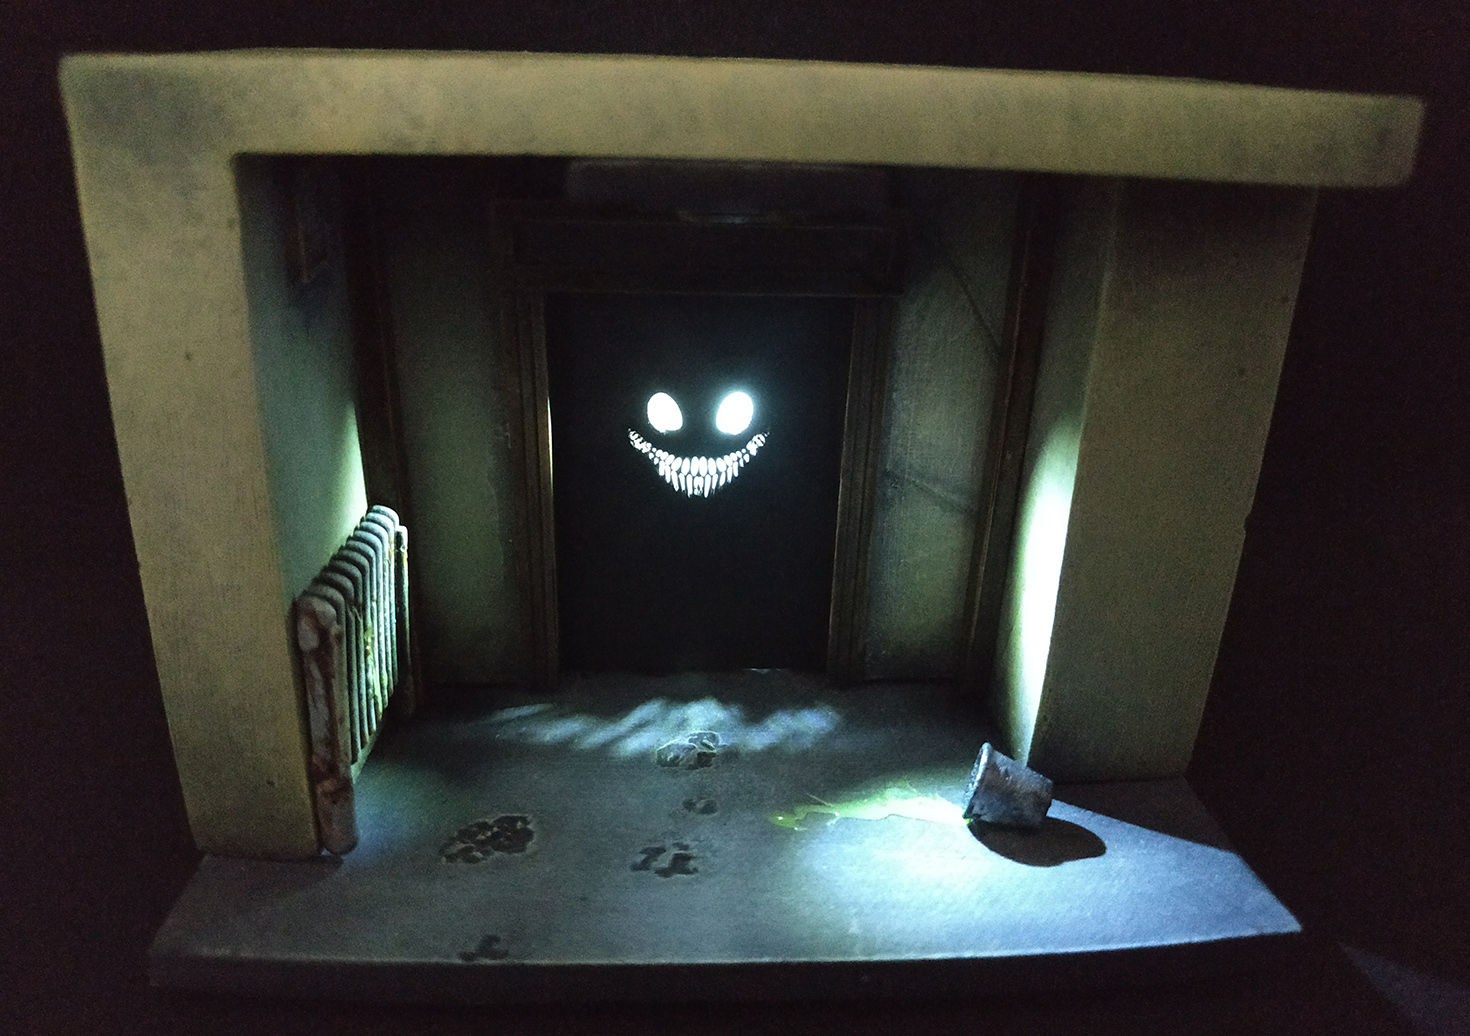
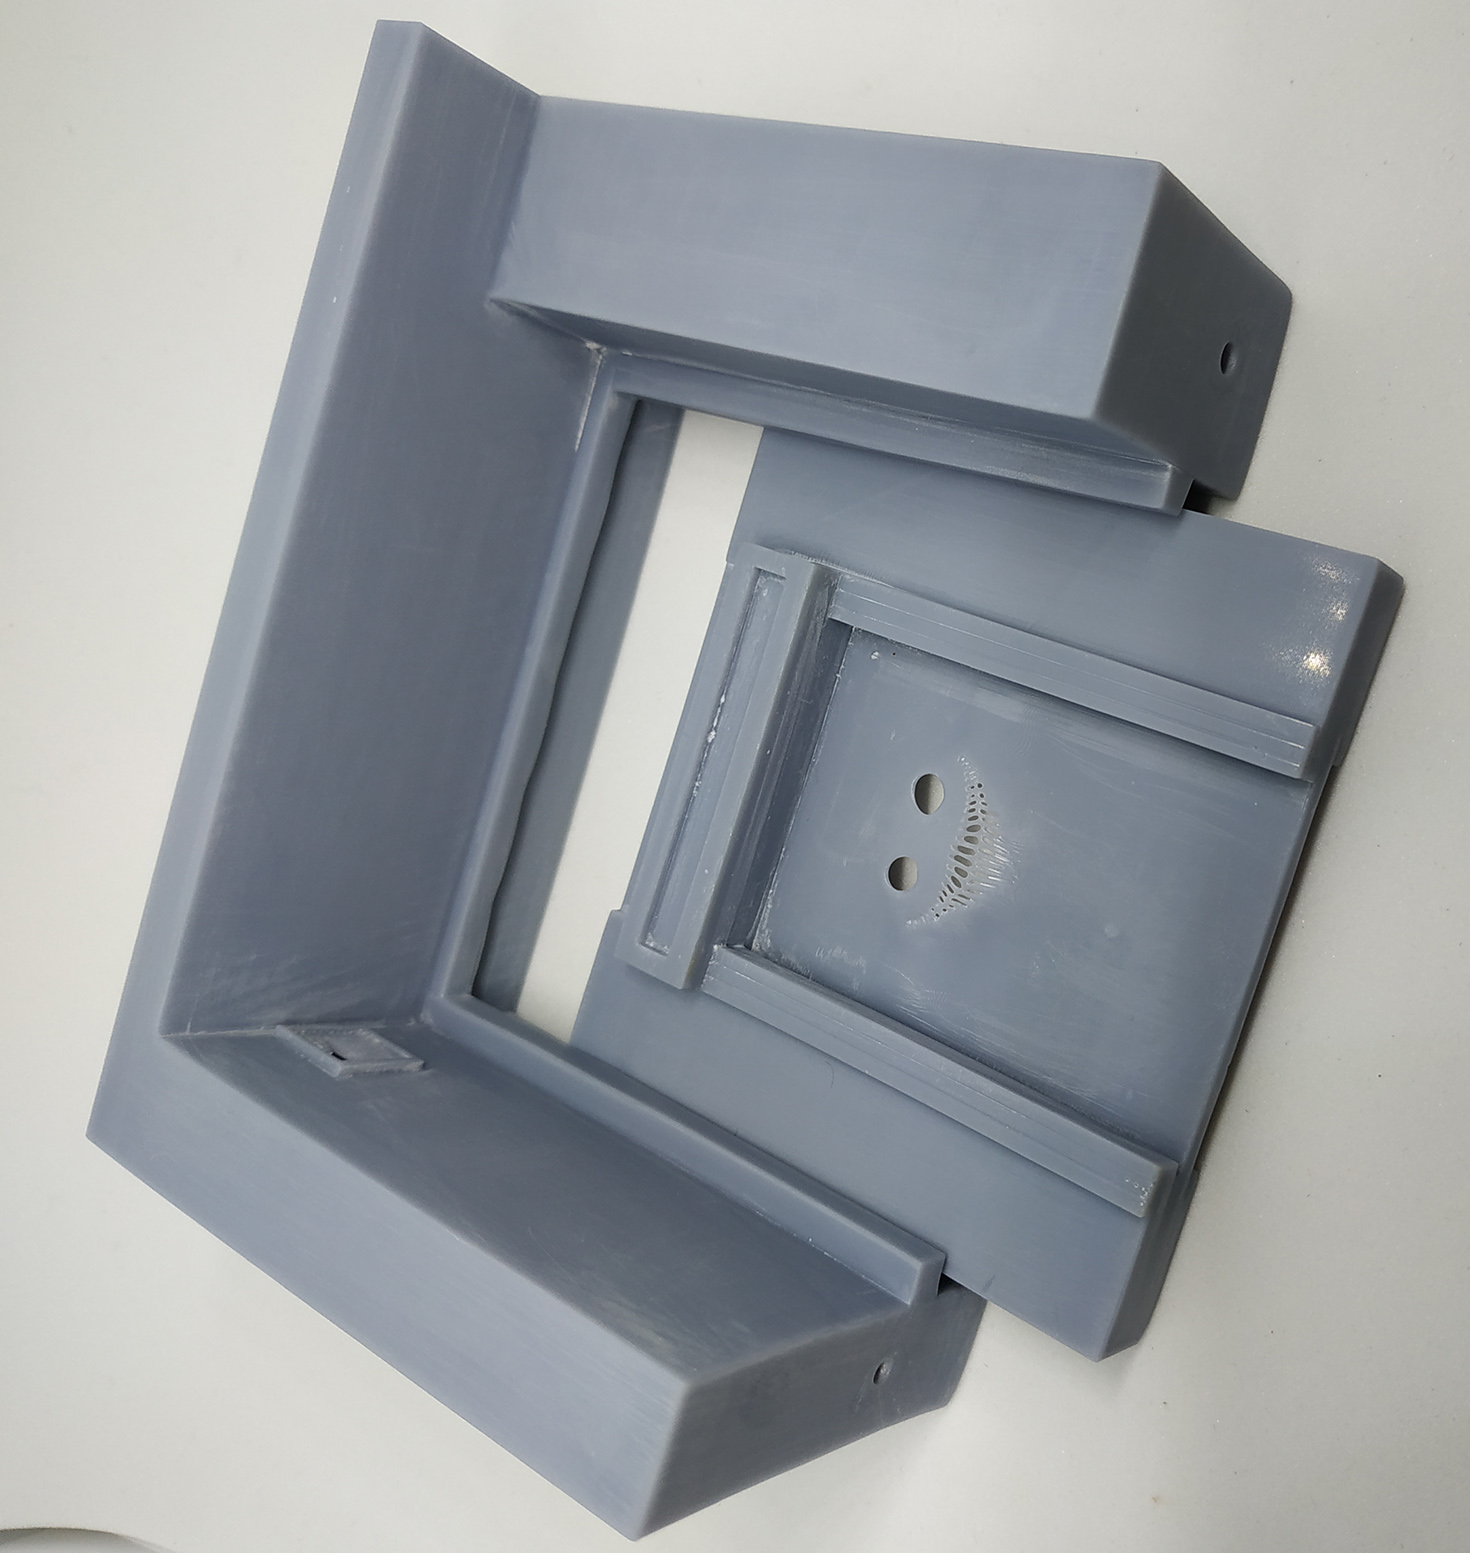
the “Smiler” in 3D printing

Vous trouverez ici comment assembler les différentes parties, c’est super simple!
Assemblage du Smiler:
J’ai imprimé le Smiler avec deux échelles différentes: 65% et 85%.
You can find out how to assemble the different parts here, it’s easy!
Assembling the Smiler :
I printed the Smiler with two different scales: 65% and 85%.
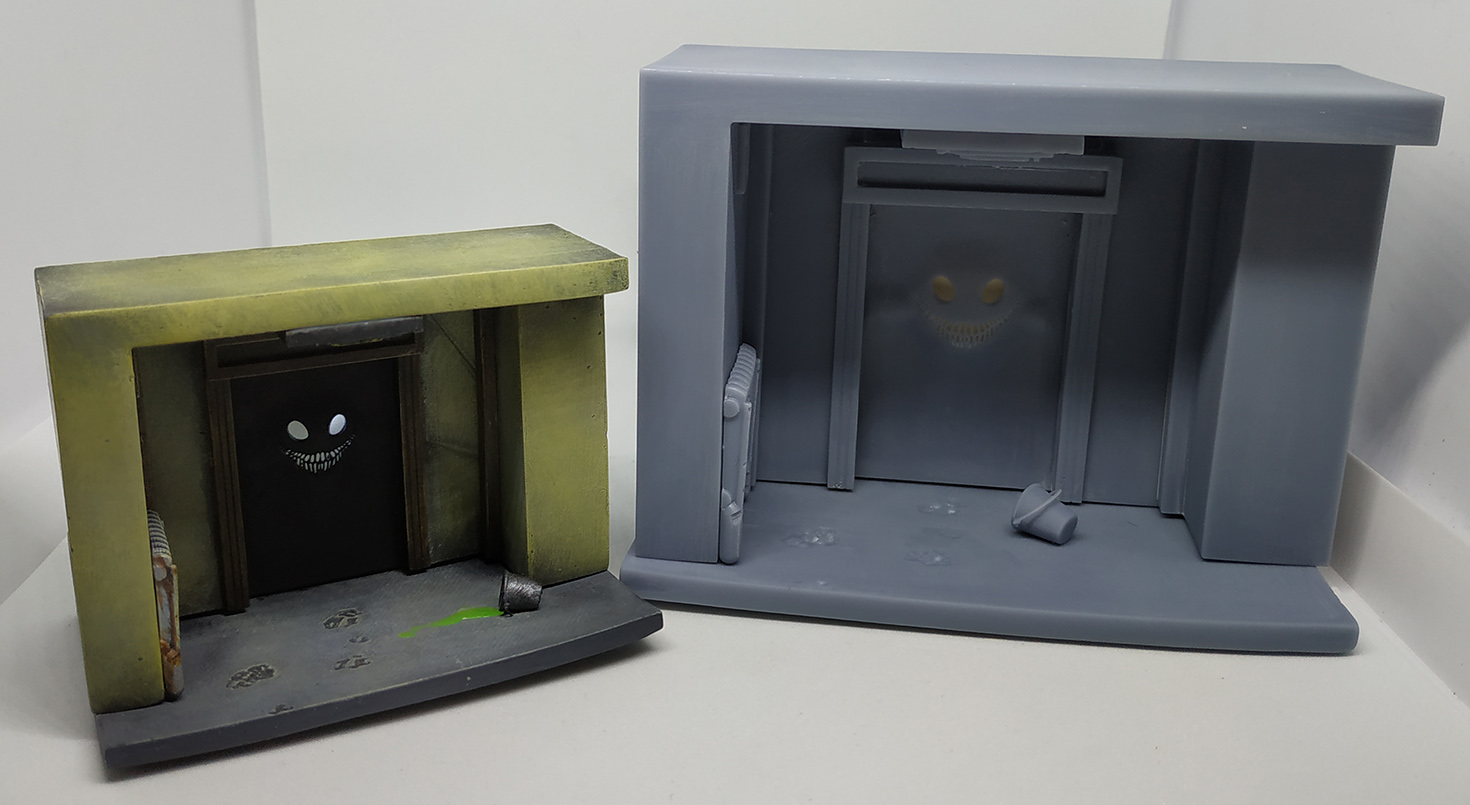
Je vous conseille de peindre les différentes parties avant de les coller.
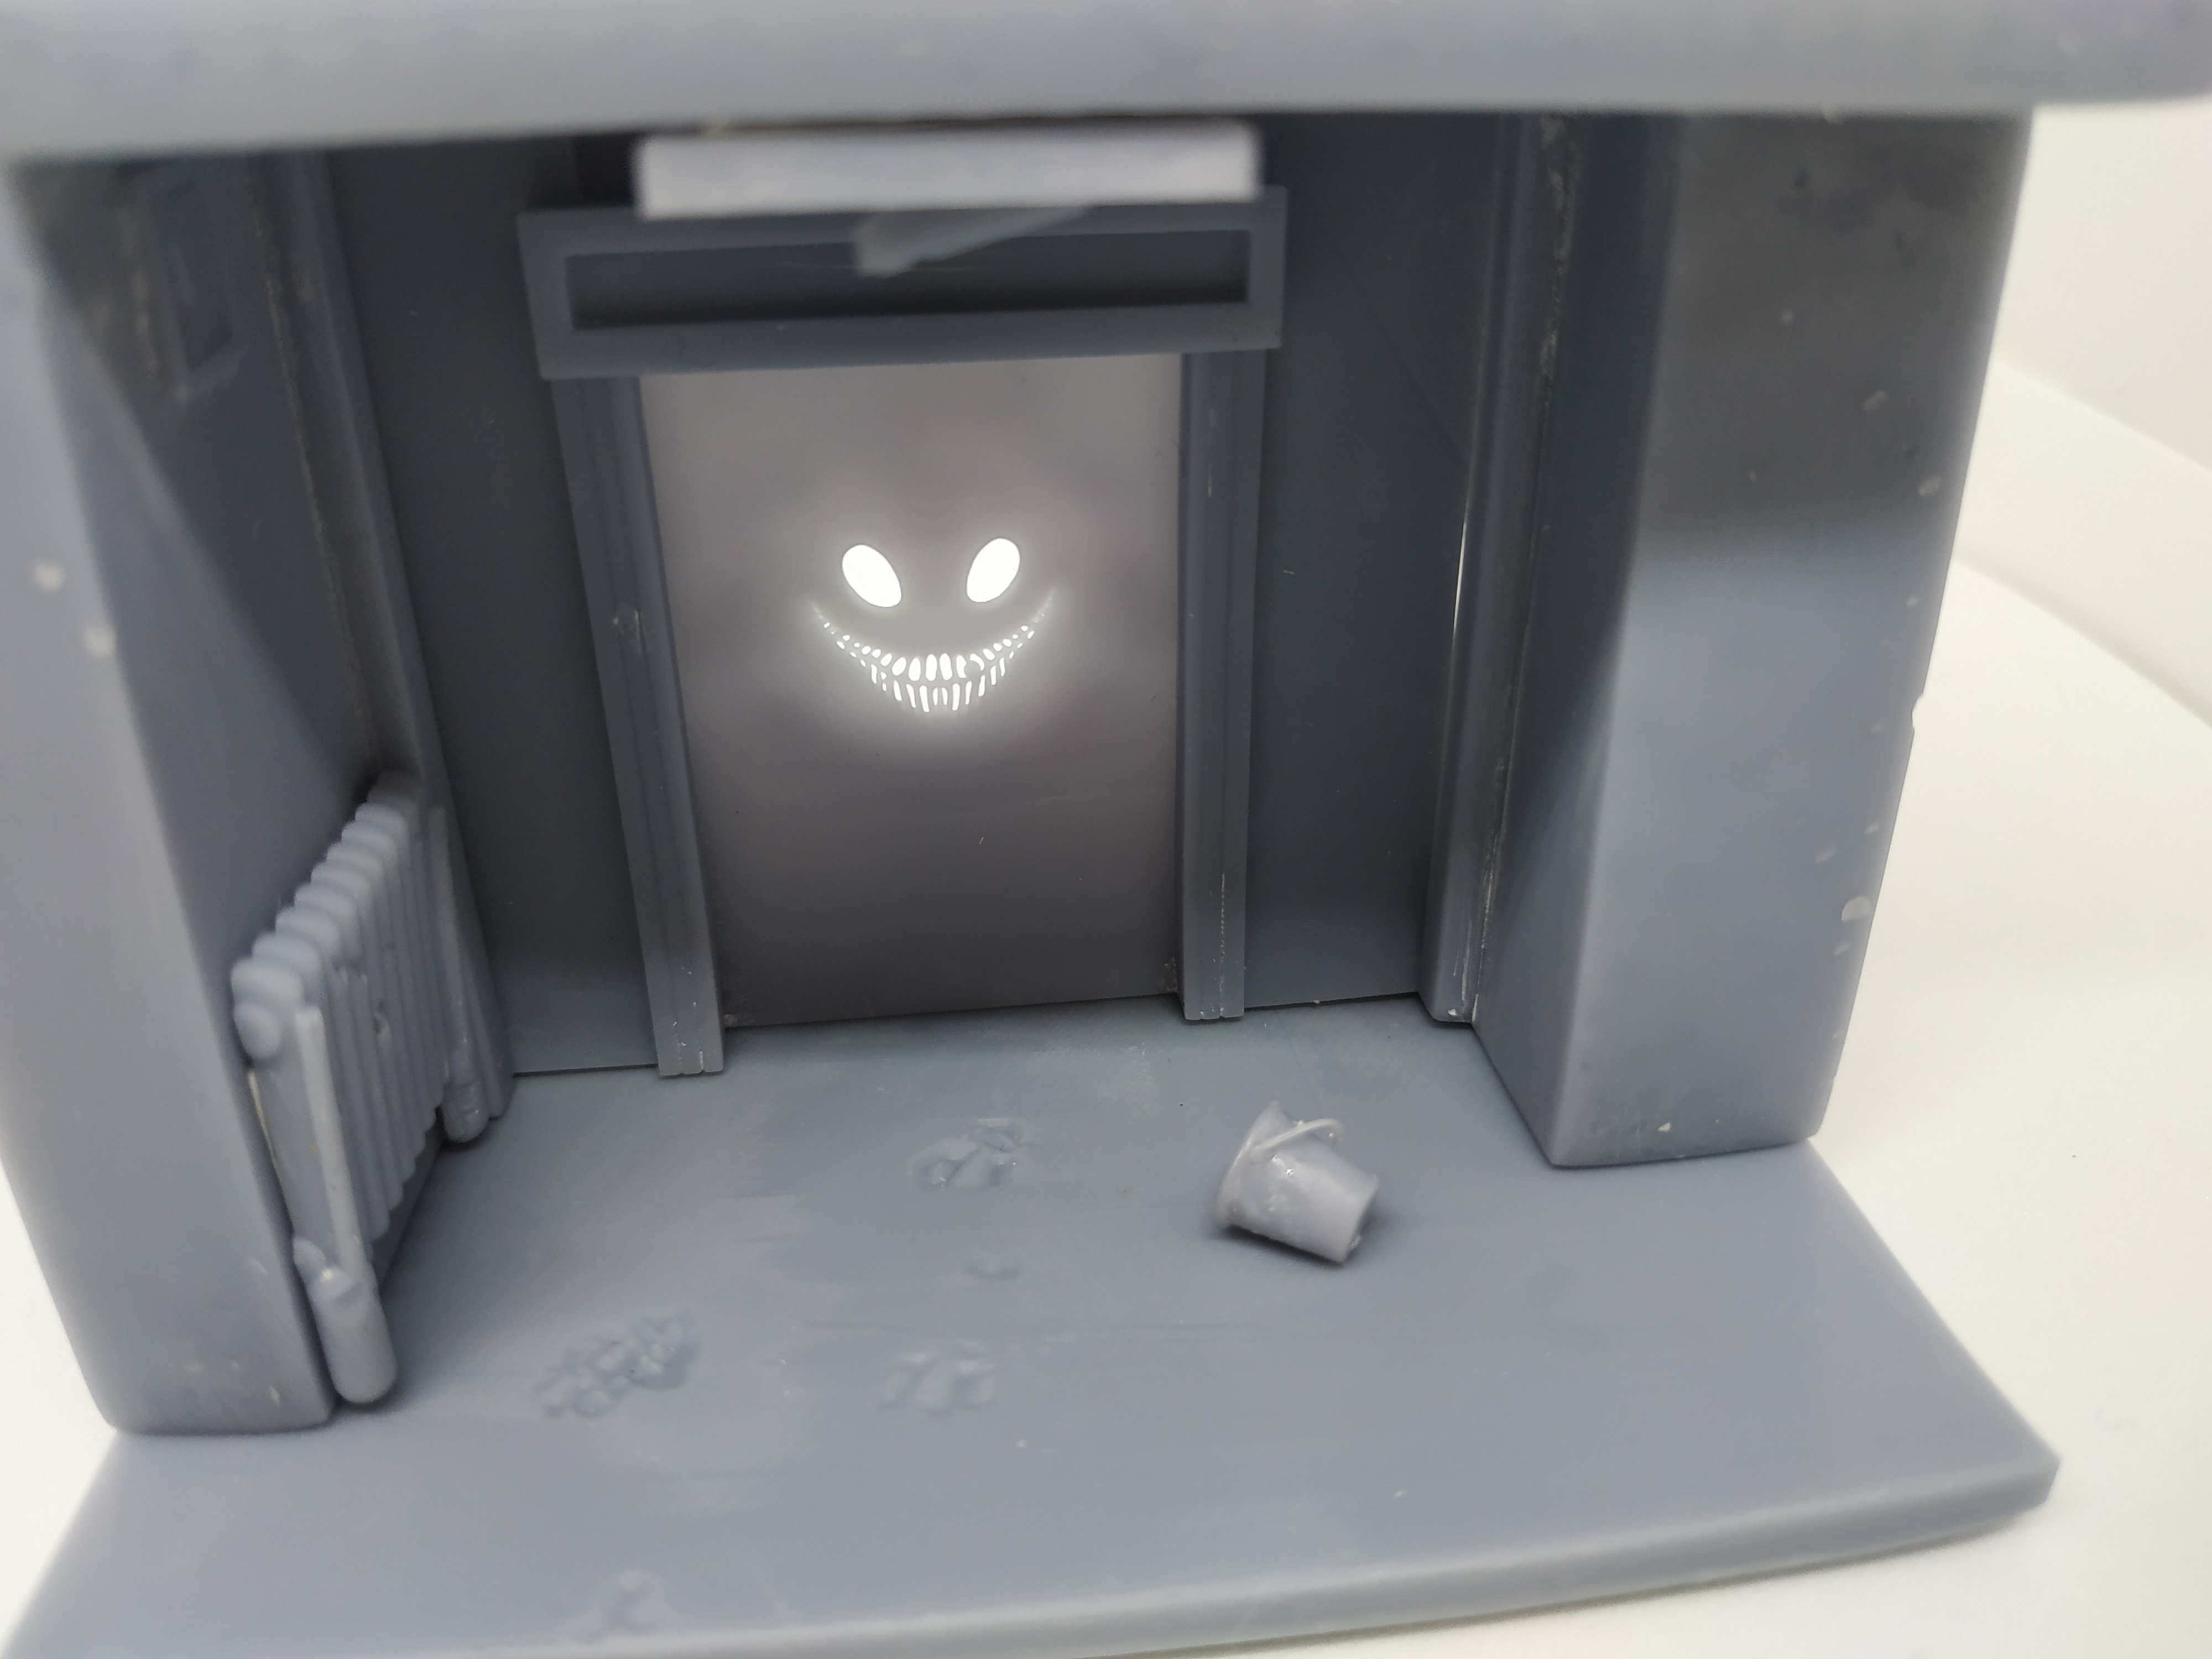
Un petit (mis à l’échelle à 65 % pour l’impression) pour une mini led:
I recommend you to paint the different parts before gluing them.
A small one (scaled to 65% for printing) for a mini led:
Pour assembler le Smiler:
To put the Smiler together:
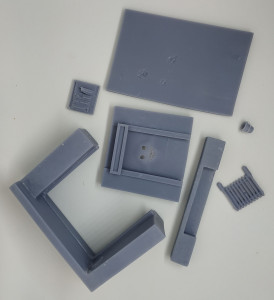
A : Coller la porte en dessous:
A: Stick the door underneath:
B : Coller le sol avec la partie prévue pour la mini led:
B: Stick the floor with the part for the mini led:

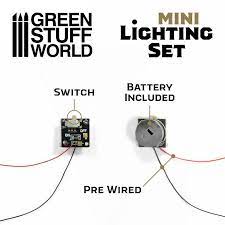
C : Placer la mini led:
C : Install the mini led:
D : Coller le radiateur, la lampe, le seau et ensuite le cadre avec la porte sur le sol
D: Stick the radiator, the lamp, the bucket and then the frame with the door on the floor
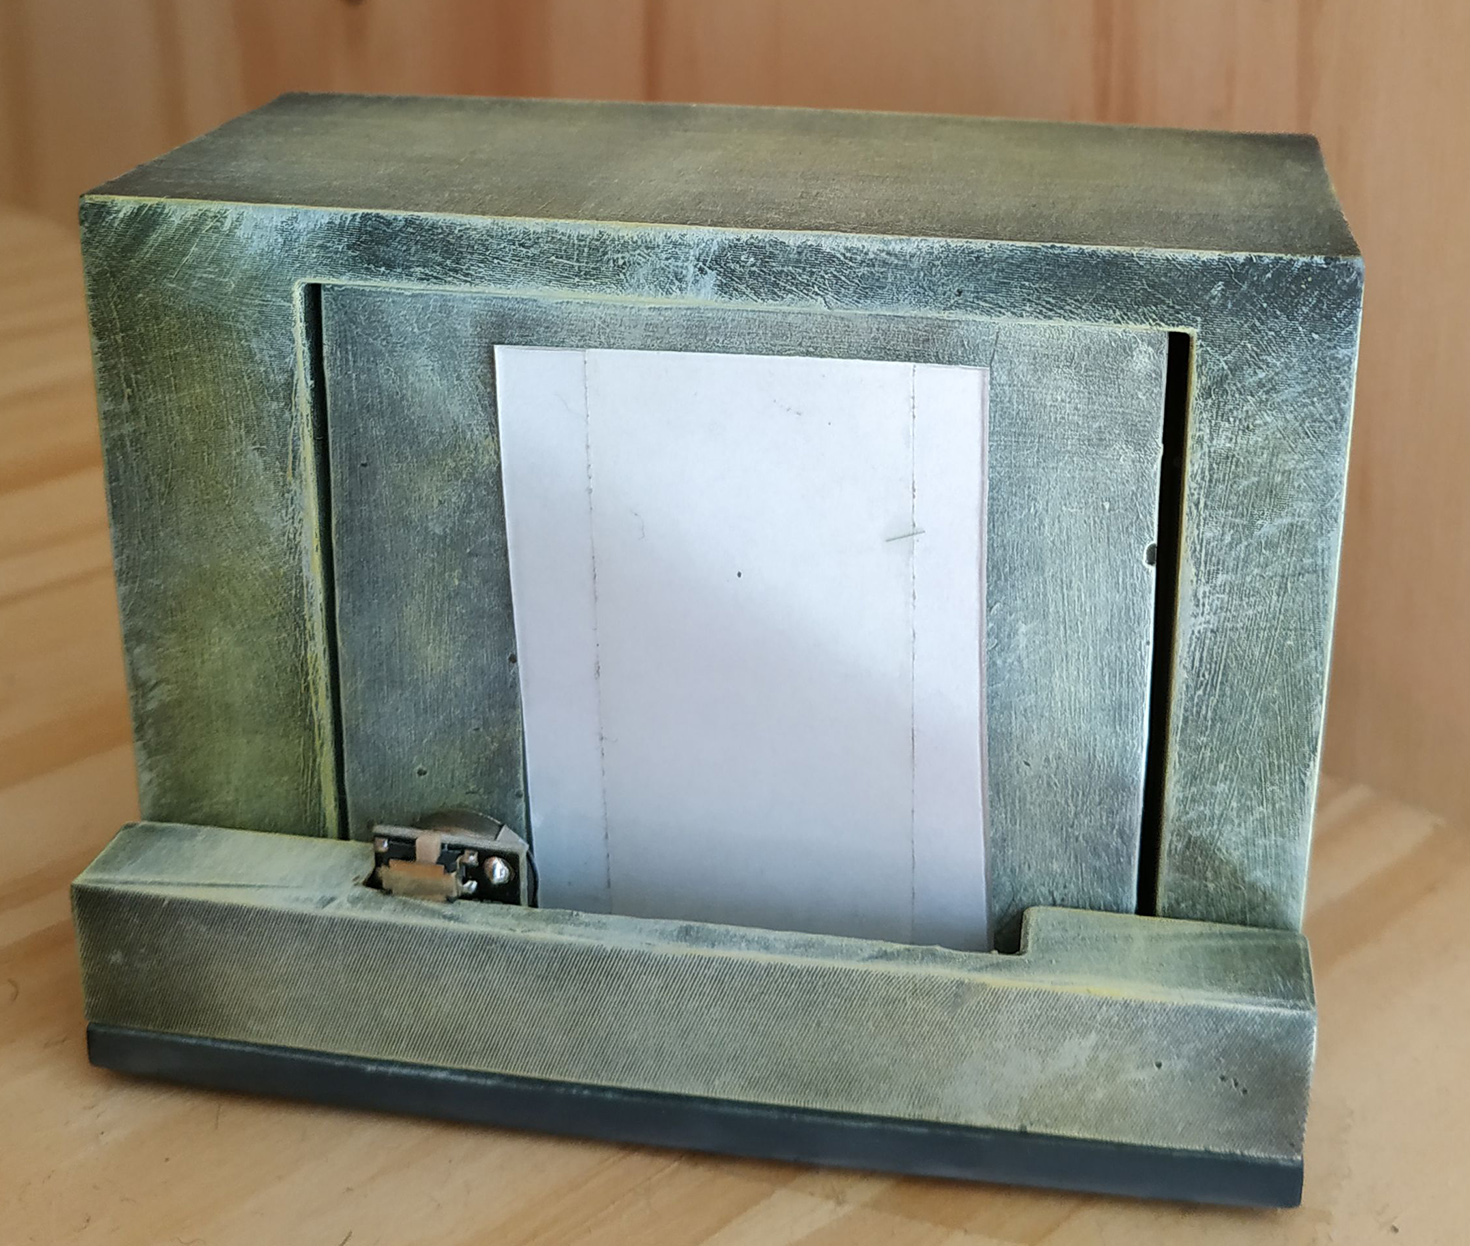
E : J’ai mis un papier blanc pour atténuer la led:
E: I put a white paper to soften the led:
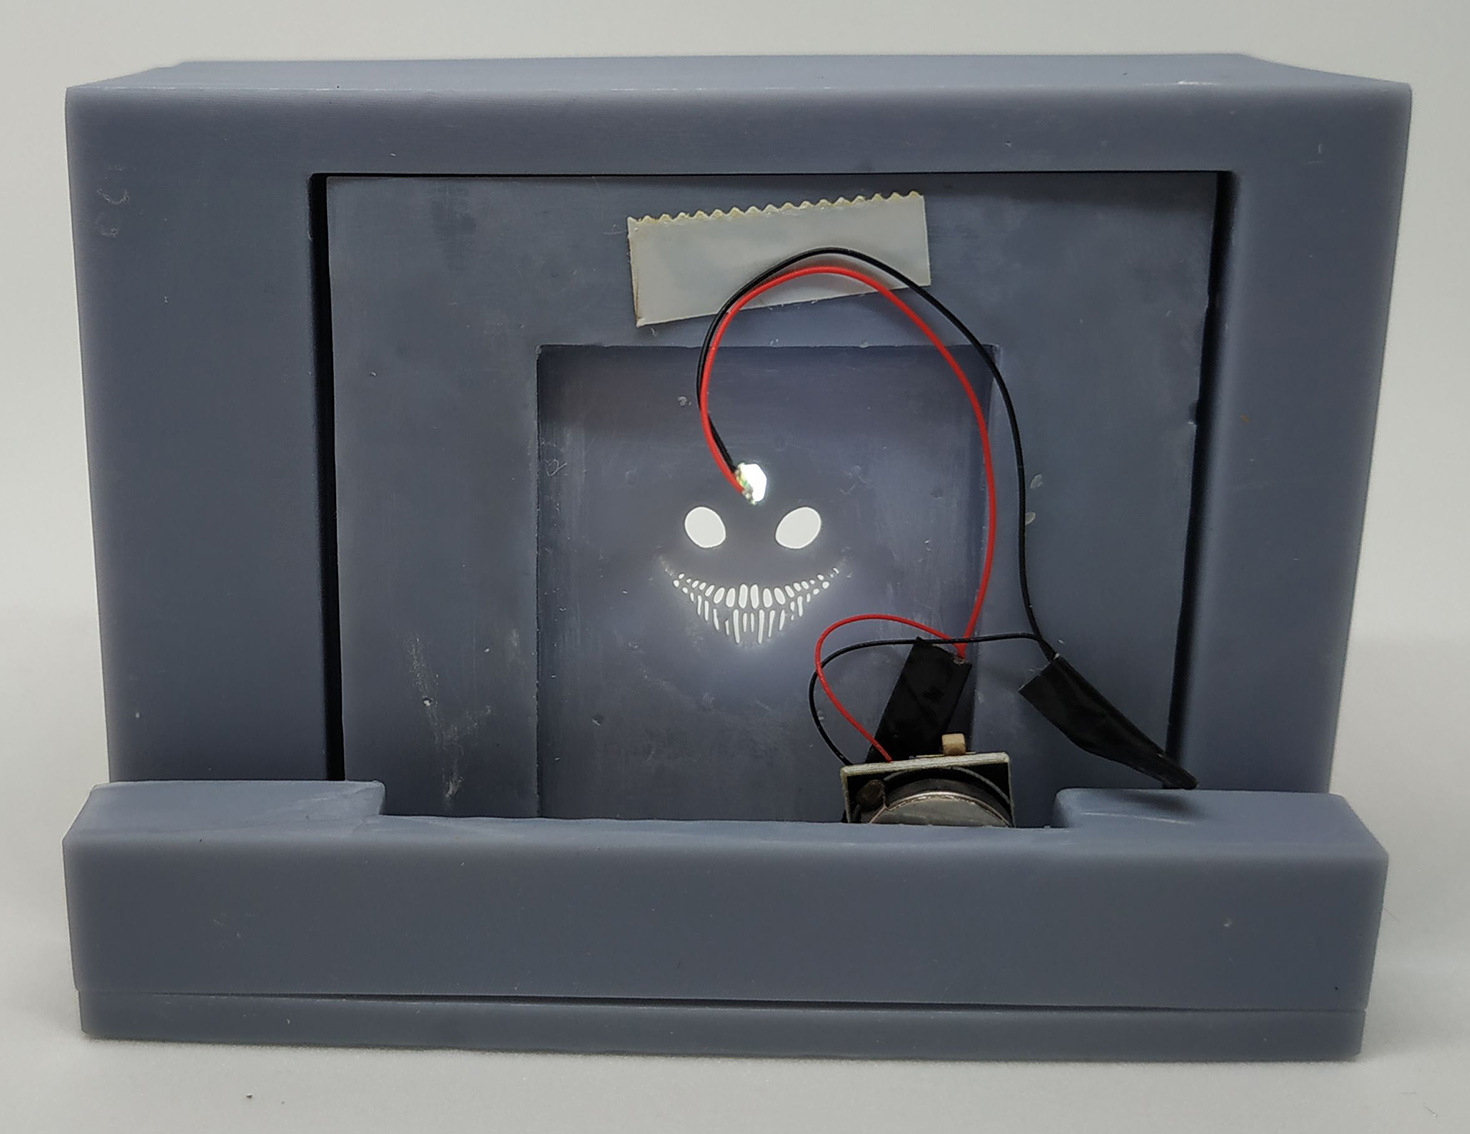
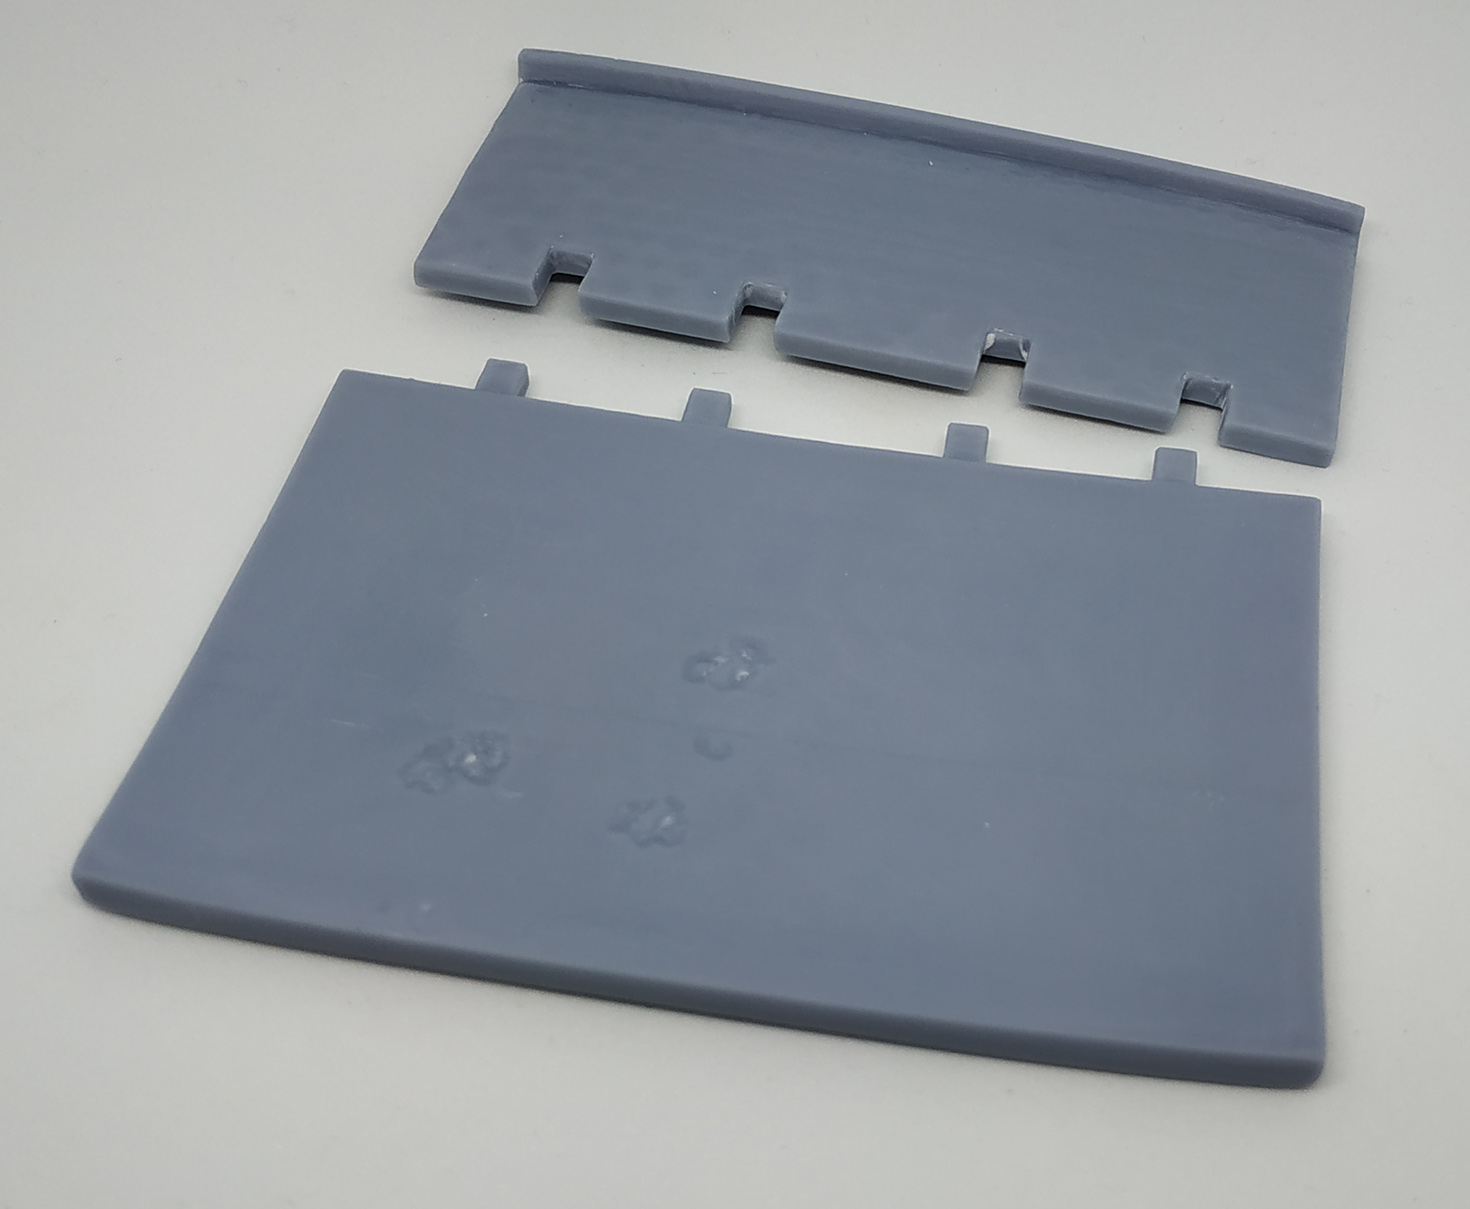
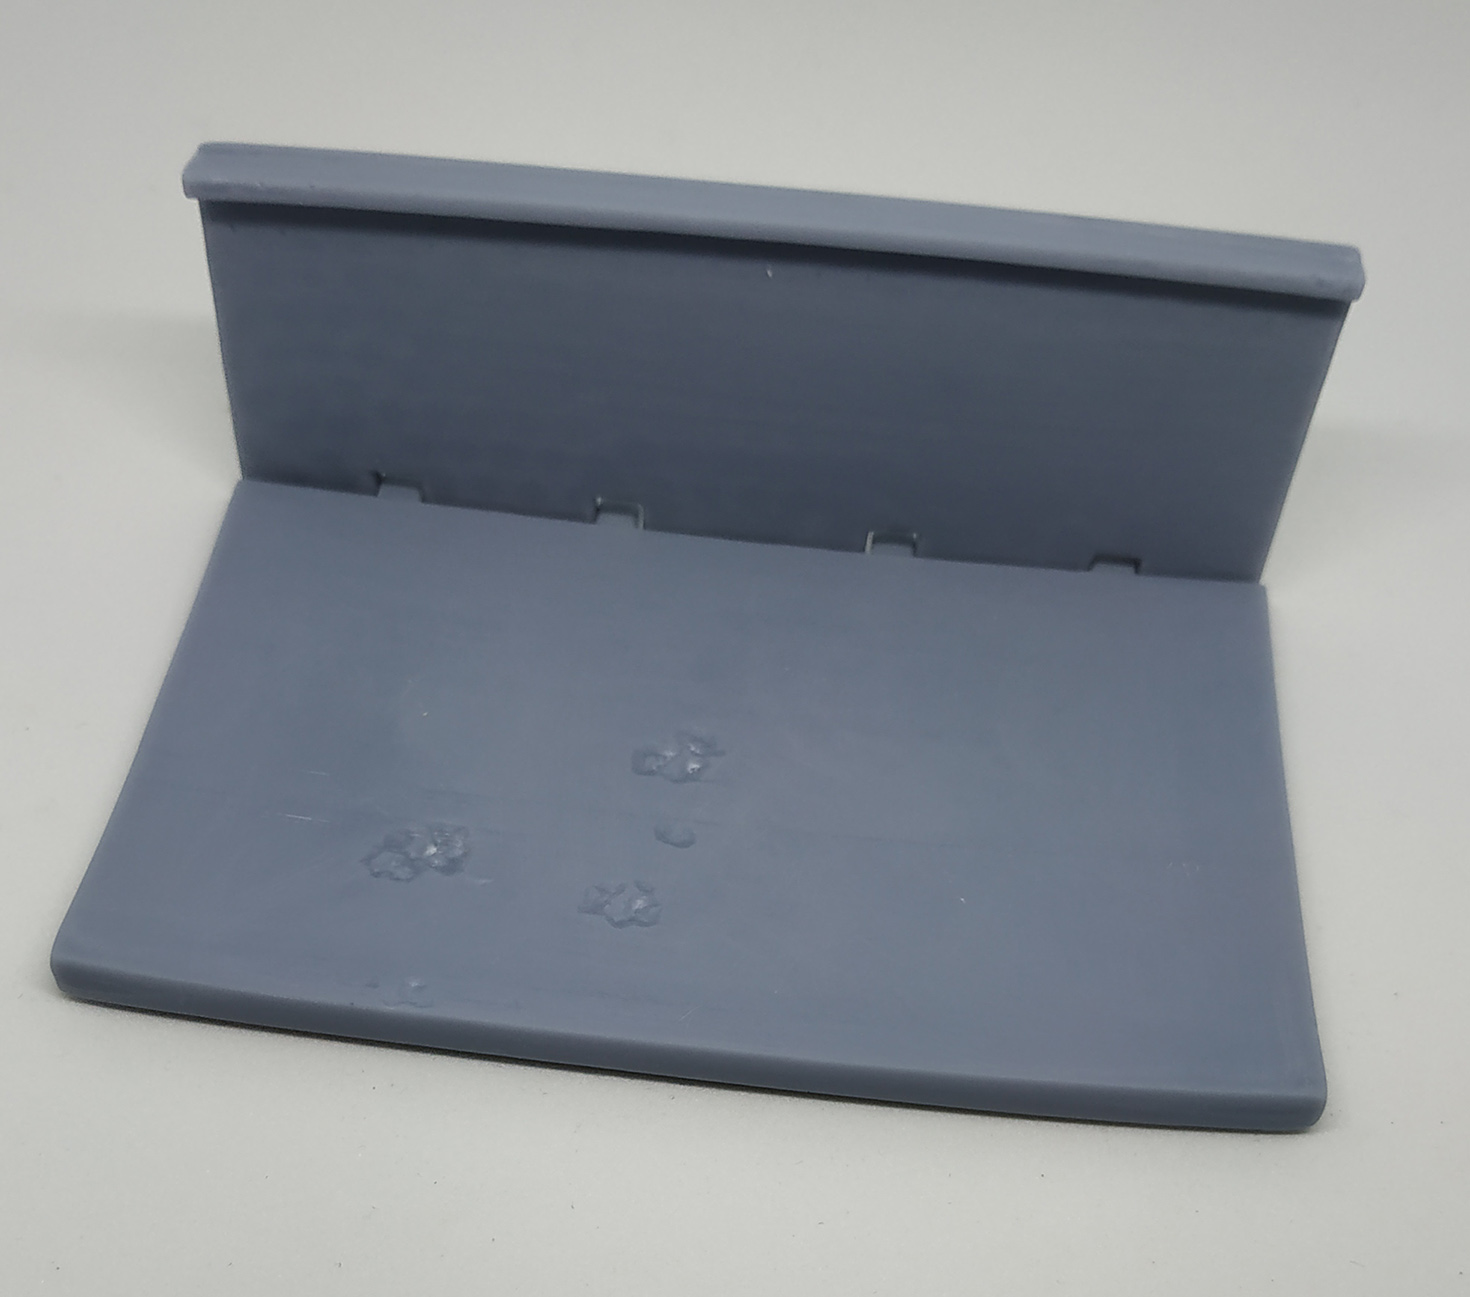
Un plus grand (mis à l’échelle à 85% pour l’impression) pour mettre une pile carrée 9V,6LR61.
Il faudra imprimer, à la place du sol et l’emplacement pour la mini led ( cf B précedemment), ces deux pièces là:
A larger one (scaled to 85% for printing) to put a square battery 9V,6LR61.
It will be necessary to print, instead of the ground and the place for the mini led (see B above), these two parts there:
Installer la pile et la diode, coller les autres parties, le cadre et la porte:
Install the battery and the diode, glue the other parts, the frame and the door:
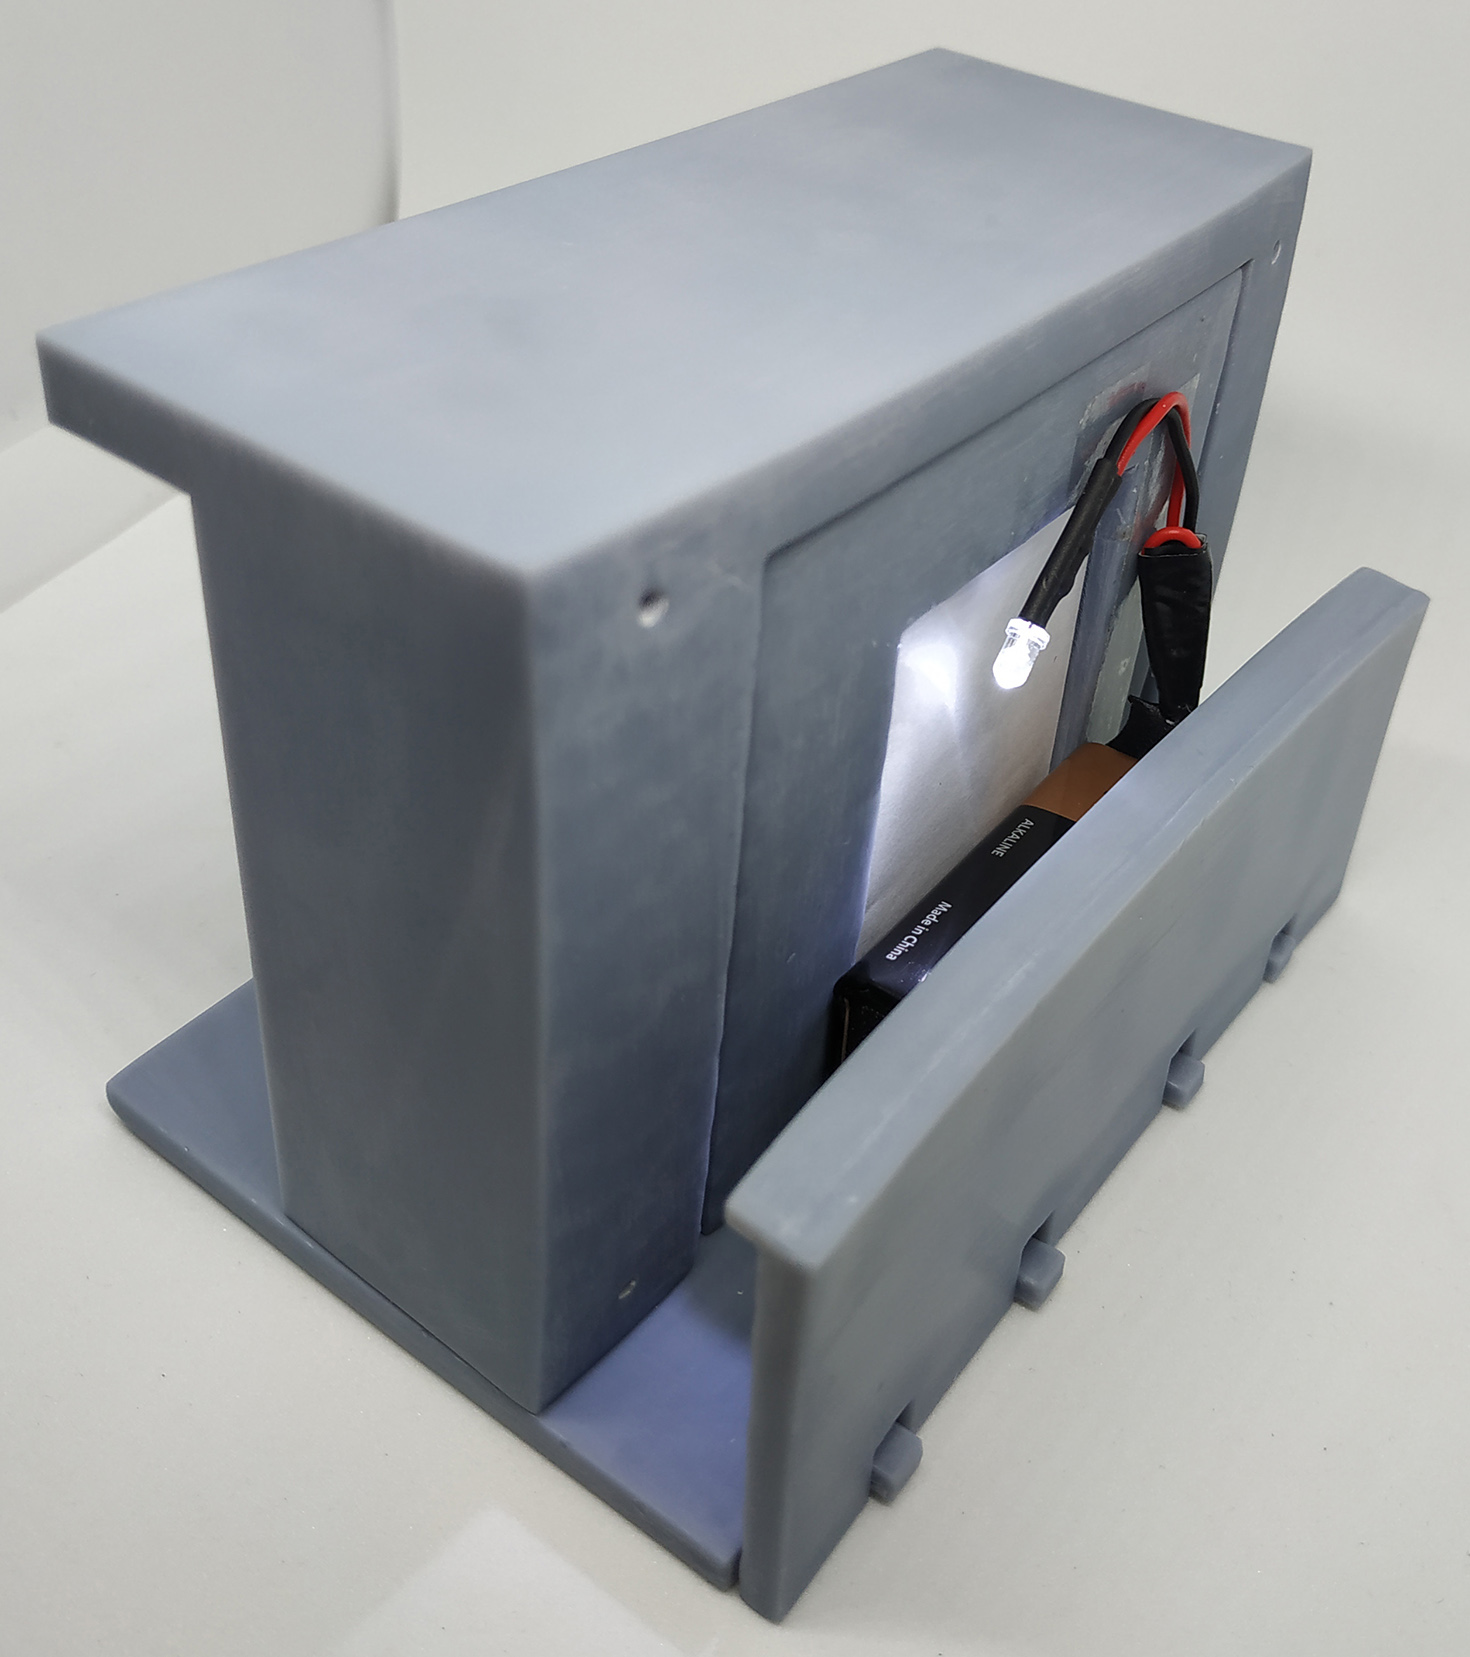
Et voilà pour le Smiler grande taille:
And that’s it, the smiler is done!

Pour l’impression SLA,
Ne pas mettre des supports sur les dents du Smiler et installer les supports vers la face externe.
For SLA printing,
Do not put supports on the teeth of the Smiler and install the supports towards the external face

En vente ici: Smiler”en impression 3D
Le wiki des backrooms sur les smilers c’est ici:
https://backrooms.fandom.com/wiki/Smilers
More description about Smilers:
https://backrooms.fandom.com/wiki/Smilers